BaldrickSwitchy
BaldrickSwitchy
Documentation for BaldrickSwitchy
BaldrickSwitchy Overview
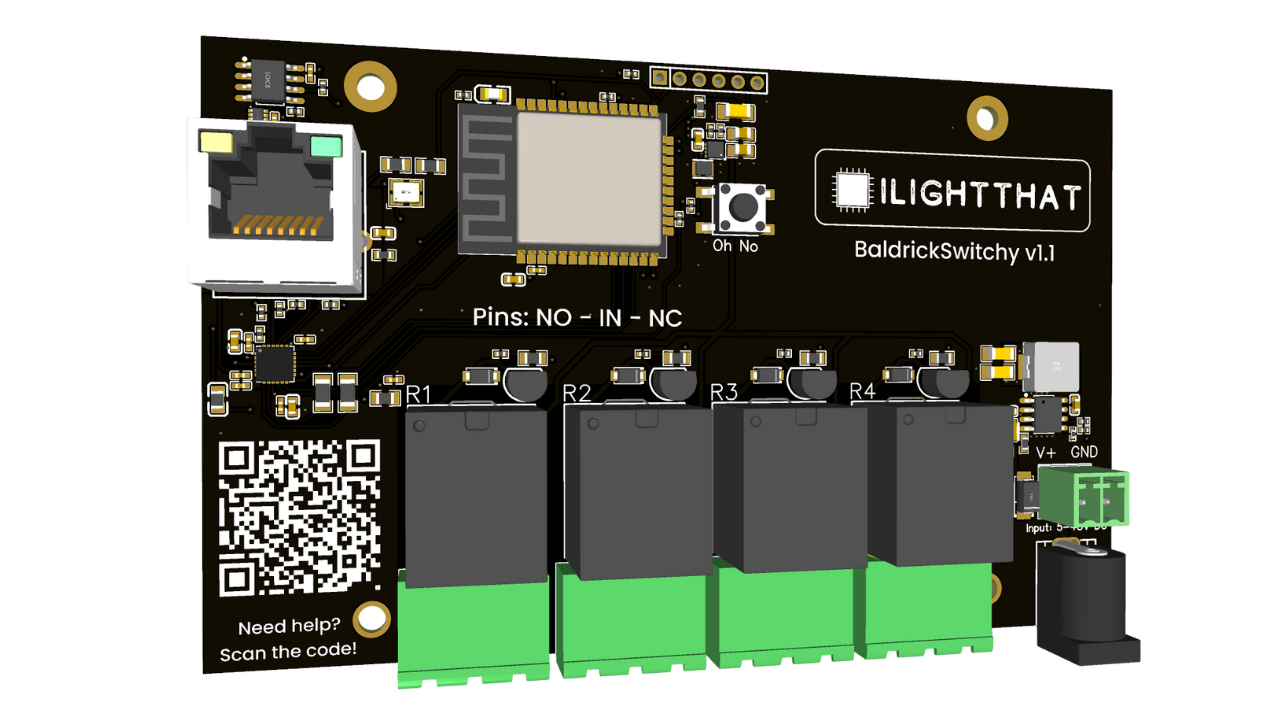
The BaldrickSwitchy is a high-power relay controller designed for AC device control and traditional lighting. With precise timing control and safety features, it's perfect for controlling motors, lights, and other high-voltage applications.
BaldrickSwitchy Controller Features
- 5v - 24v (or up to 48v on version 1.1) with onboard power management
- 4 Relays which can handle with up 8amp and 300v (AC/DC) (also compatible with a zero voltage circuit)
- DDP, Artnet, E1.31 & SACN compatible
- Small footprint compatible with other Baldrick Boards & smart receiver mounts
- Push from xLights integration
- Controllable by the Turnip Network
- Scannable QR code direct to the docs
Video Introduction
Check out our video introduction to see the BaldrickSwitchy in action.
Video: BaldrickSwitchy Overview
Watch how easy it is to control AC devices with the BaldrickSwitchy